Hi guys!
Today I have a mini girls room makeover to share with you.

Here is the BEFORE of the room décor.
And the crafting begins with these signs....

For the heart I cut a heart using my cricut cutting machine and vinyl. I placed the vinyl on a board and painted inside the heart, using the vinyl as a stencil.


I framed all the signs using 1x2 boards and stained them with minwax dark walnut stain.

For these arrows I used scraps of 1x4s I had on hand and cut at a 45 degree angle make them into arrows. I painted each one using craft paint from Walmart (50 cents for each bottle).
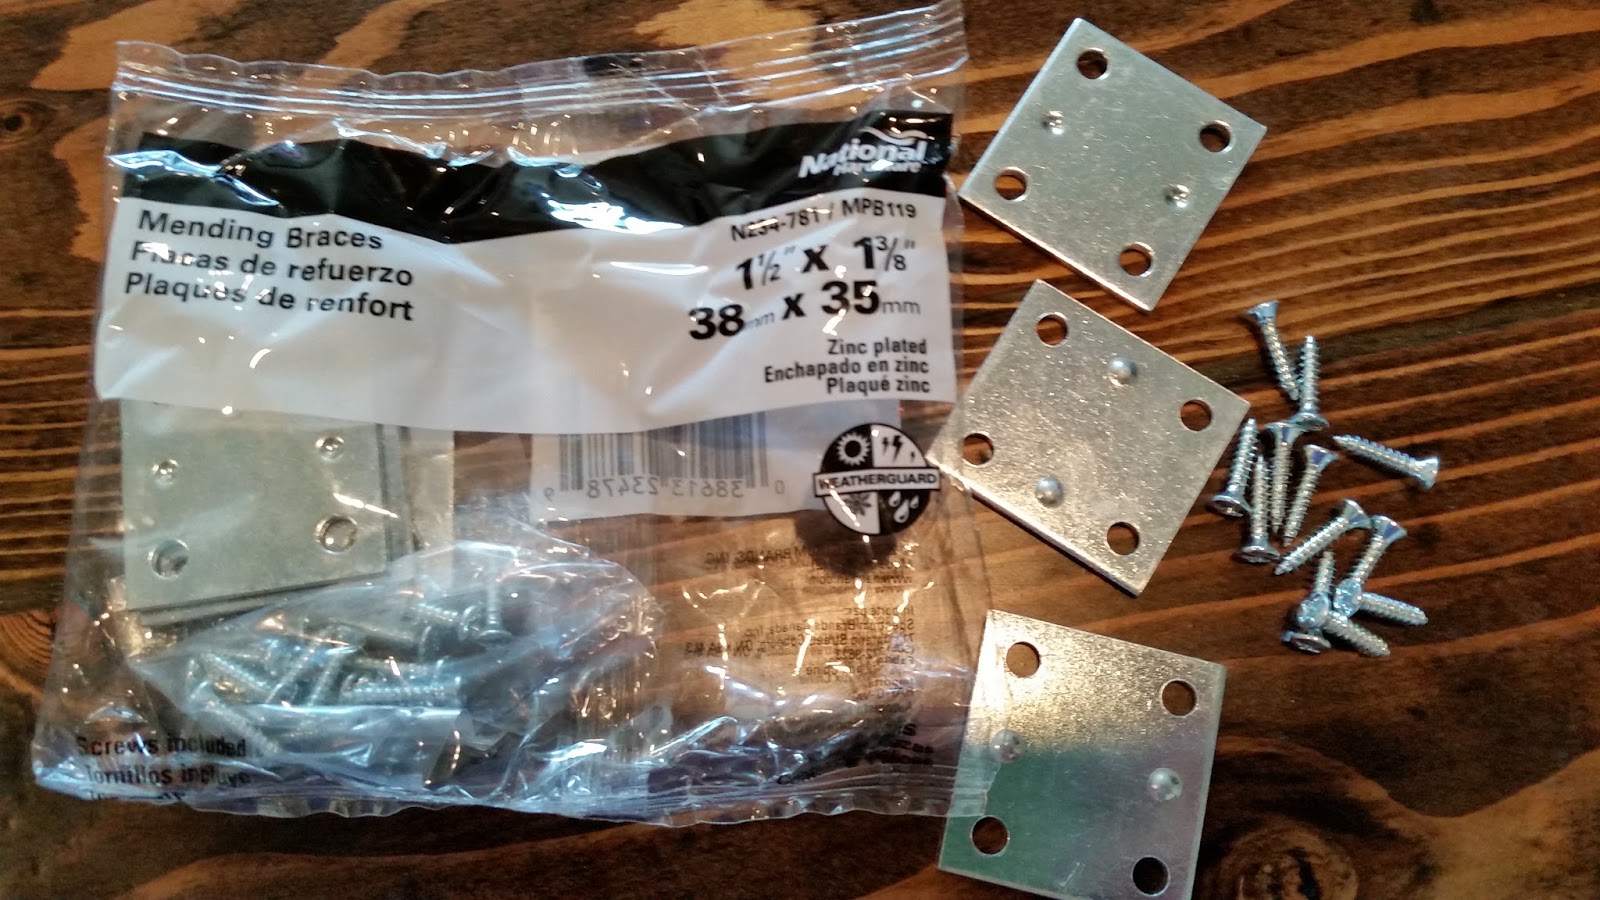
To join the two pieces of the arrows together I used these mending braces I got at LOWES.

Here is the back of one arrow (I know it's messy, but hey it's the back!).

All the arrows assembled together.

Now onto making artwork hangers. These are made using a 1x6 board which was 10 feet long that I had cut at LOWES into 3 equal pieces.

Here is the hardware I used for the artwork hangers.

I white washed these 3 boards. I just put some white craft paint in a plastic disposable cup and added some water to my liking (no measuring was done).

I added the piece of wire to each board 1 inch in from each side and down 2 inches.
On the top board I plan to hang some photos because my daughter can't reach to top board very easily.
The other 2 boards she can use to switch out her artwork as she likes.

And onto the butterfly wall hanging!
This was a repurposed project. This canvas wall hanging was covered using the grey and white striped fabric I got from Hobby Lobby.
I then cut all these butterflies using my cricut cutting machine and colored cardstock. I tried to match the paint colors on the arrows (see above).
Once I covered the canvas with fabric (attached using a staple gun to the back of the canvas), I used hot glue to adhere the butterflies to the fabric.

What the back of this project looks like.

The projects up close!

And the AFTER!

And more of the AFTER!
I'm really happy with how it all came together! I hope one day I'll be able to make a quilt to match all the colors in the room décor, but until then I'm very HAPPY with how her MINI ROOM MAKEOVER turned out!
Happy crafting!
Comments
Post a Comment
Thanks so much for leaving me a comment and reading my blog! I love hearing your many comments. :)